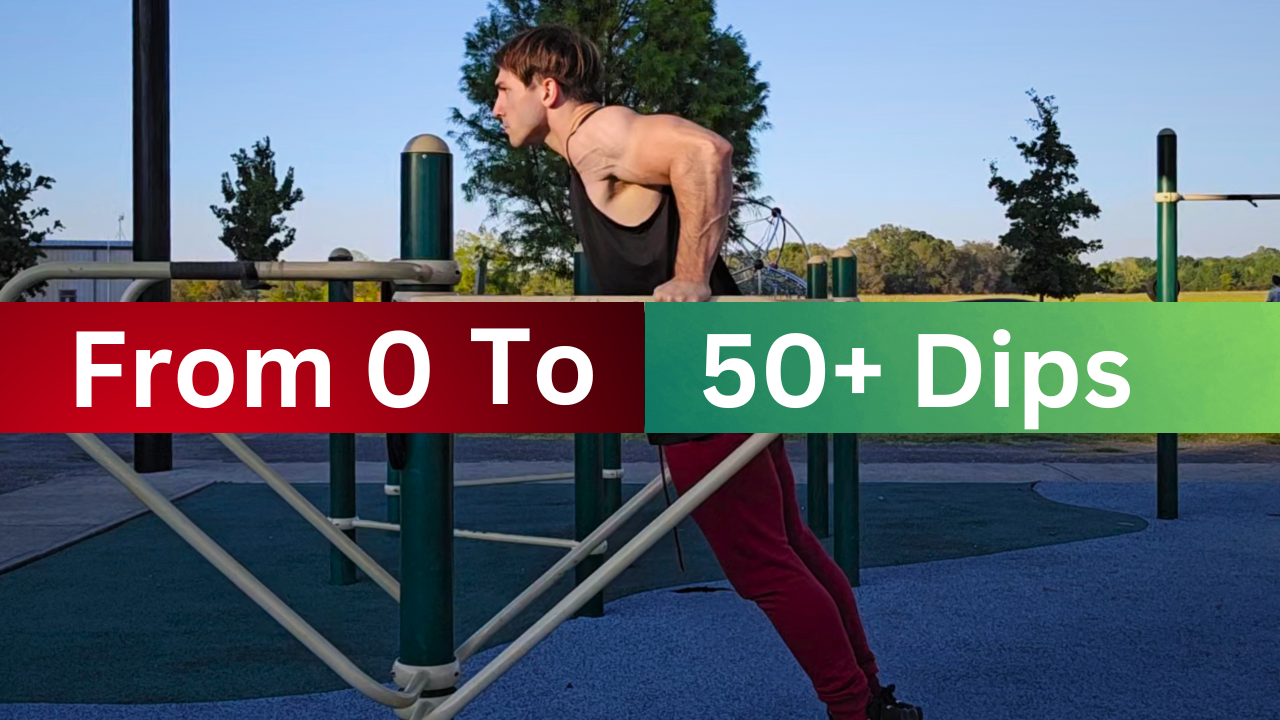
Are you looking to improve your dip count or struggling to manage even one?
My name is Andrew Aurora and I help men build athletic physiques and functional strength with Hybrid Calisthenics and specialize in training men in the tech industry
In this post I am going to be showing you how to go from 0-50+ dips step by step, regardless of your current skill level.
Let's jump right in
How To Go From 0-50+ Dips
Intro
The dip is a foundational calisthenics exercise, ideal for building pushing strength that can support more advanced moves like handstand push-ups or 90-degree holds.
It primarily engages your pecs, front delts, and triceps, making it an excellent chest exercise when done correctly.
However, dips do come with some risks; performing them incorrectly can lead to shoulder discomfort or even injury.
But with the right technique, dips are one of the most effective chest exercises, especially for calisthenics athletes.
Today, I'll break down each stage of progression from 0 to 50+ dips, just as I did in my pull-up guide (I’ll link that video somewhere here if you haven’t seen it yet
How To Go From 0-50+ Dips FAST Step By Step
1.) 0-5 Dips
If you’re starting from scratch and can’t yet manage at least 5 dips—or even struggle with just one—then we need to build a solid foundation first.
Step one is to make sure you have a good base of pushing strength.
Before jumping into dips, you should be able to perform at least 10 push-ups with good form.
Once you’ve got that down, we’ll move into some dip regressions to get you dip-ready.
Here’s a simple routine to help you build that foundation:
(30 second rest between, 60 second rest after set, 3-5 sets)
- 10 push ups
- 5 dips negatives
- 5 Assisted dips
Exercise 1: 10 push-ups are pretty straightforward. To perform a proper push-up, engage your core, keep your elbows tucked close to your sides (not flared out), and lower your chest all the way—or nearly all the way—to the ground. Push back up until your arms are fully extended. Complete 10 reps like this before moving on to dip negatives.
Exercise 2: Now, let’s move on to dip negatives, which will start preparing you for a full dip. Performing the negative portion of an exercise you’re not yet strong enough to complete can be highly effective in building the strength needed to master it. For dip negatives, begin at the top of the dip position and slowly lower yourself down in a controlled motion.
To maintain correct form, lower your body until your arms reach roughly a 90-degree angle—or even a bit deeper. Lean forward slightly by bringing your chest in front of your shoulders, and extend your legs behind you. This shift helps reduce stress on your shoulders and emphasizes your chest muscles rather than shoulders and triceps. If you’re tall and need to, you can cross your feet, but try to avoid it unless necessary, as it’s not ideal for form. Perform 5 reps here before progressing to assisted dips.
Exercise 3: Assisted dips are an excellent way to lighten the load, allowing you to build the strength needed for a full dip. You can perform these using either an assisted dip machine or a resistance band—whichever one is best for you or whichever one you have access to. In terms of form, everything from dip negatives still applies here.
Additionally, be mindful not to shrug your shoulders during the movement; instead, focus on depressing your shoulders to enhance stability. Avoid leaning too far forward while pushing straight up, as this can strain the front of your shoulder. Whether you’re using a band or a machine, aim for at least 5 reps per set. Perform 3 sets, with 30 seconds of rest between exercises and 60 seconds of rest between sets.
Once you can complete all three exercises for 3 sets, you should be able to comfortably perform at least 1 to 5 dips. Each time you practice, start by testing how many dips you can do at the beginning of your set to track your progress. Repeat this routine until you can perform 5 dips with perfect form. Once you reach that milestone, you’re ready to move on to the next stage!
2.) 5-10 Dips
Taking what you learned in the last section, in this section I'm now going to focus on getting you from 5 dips to 10 dips. The routine for this section is going to be:
(30 second rest between, 60 second rest after set, 3-5 sets)
- 5 dips
- 5-10 assisted dips
- 5 dip negatives
- Max reps push ups
- 30 seconds of rest between each workout, and 60 seconds rest in between
Exercise 1: At this point, you should have mastered 5 dips with perfect form, so we’ll start with 5 dips at the beginning of the routine when you have the most strength and energy. This way, we can work from the hardest to the easiest exercises, progressively pushing you to your limits to increase strength.
Exercise 2: After completing 5 perfect dips, we’ll move on to 5–10 assisted dips. The goal here is to increase your rep count, aiming for a minimum of 5 assisted dips, with a maximum goal of 10. Once you’ve completed 5–10 assisted dips, you’ll proceed to dip negatives.
Exercise 3: Here, we’re aiming for just 5 dip negatives. This will allow you to push past fatigue, squeeze out additional reps, and bring you closer to failure, which will increase both your strength and your endurance. After 5 dip negatives, you’ll move on to push-ups.
Exercise 4: For push-ups, you are going to perform as many reps as you can. Doing push ups right at the end will increase your overall pushing strength and endurance while ensuring you leave nothing in the tank.
Rest for 30 seconds between exercises and 60 seconds between sets, completing a total of 3 sets. Repeat this routine until you can do 10 perfect dips. Once you can achieve 10 dips with solid form, you’re ready for the next level!
3.) 15-20 Dips
This is the stage where the fun stuff begins. Our routine for this section is:
(30 second rest between, 60 second rest after set, 3 sets)
- 10 weighted dips
- 10 - 15 dips
- 10 reps of assisted dips
- 5 dip negatives
Exercise 1: Weighted calisthenics is something we all look forward to—and for good reason. Adding extra weight is when your strength truly levels up, but a solid foundation is key. If you've made it to this stage, you've built that foundation, and now it's time to start packing on some weight. But don’t rush it—jumping straight into heavy loads can do more harm than good. I recommend starting with around 10-15 lbs, or whatever weight challenges you within 10 reps. Once you hit that mark, drop the weight and transition into regular dips.
Exercise 2: Next up, you'll be hitting 10-15 bodyweight dips. Since your chest is already pre-exhausted from the weighted dips, these will feel tougher—but that’s exactly what we want. Push through the burn and aim for the higher end of that rep range if you can. Once you knock those out, it’s time for assisted dips.
Exercise 3: Now, we’re keeping the intensity high with 10 reps of assisted dips. By this point, fatigue should be setting in, but this is where the real gains happen. Fight through it and crank out all 10 reps to keep building strength and endurance. As soon as you're done, move straight into dip negatives.
Exercise 4: To finish strong, you’ll do 5 slow, controlled dip negatives—this is where you push yourself to the absolute limit. Once you grind through those reps, take a well-earned 60-second rest, then repeat this entire circuit for two more sets. Keep following this progression until you can hit 20 unbroken dips in a row. Once you reach that milestone, you're ready to move on to the next level.
4.) 20-30 Dips
With this section we will be adding a tougher variation of a dip, but otherwise we will be keeping a similar routine to the last section. This is the routine for this section:
(30 second rest between, 60 second rest after set, 3 sets)
- 10-15 weighted dips
- 5-10 reps explosive dips negatives
- 15 dips
- Max reps assisted dips
Exercise 1: Just like in the last section, you’re kicking things off with weighted dips, aiming for 10-15 reps per set. We’re starting with these because this is when you’re at your strongest, and you want to make the most of that power. Once you hit at least 10 reps, it’s time to move on to the next exercise.
Exercise 2: Now, I’m introducing a new challenge: explosive dip negatives. This variation is not easy—it’s a hybrid of explosive dips and dip negatives, combining power, control, and endurance into one challenging movement. Expect these to wear you out fast, but that’s exactly why they’re so effective. Your goal is 10 reps, with no less than 5. Once you grind through those, move straight into dips.
Exercise 3: For this round, you’re aiming for 15 unbroken dips. By now, fatigue is creeping in, but this is where real progress happens. Keep pushing your limits—this is how you build next-level strength. Once you power through all 15 reps, it’s time for assisted dips.
Exercise 4: To wrap up, you’ll go all out with max reps of assisted dips. We’ve worked our way down from the toughest exercise to the easiest so you can push beyond the point where you thought you had nothing left. Once you hit failure, rest for 60 seconds, then repeat the entire circuit. Stay consistent with this routine, and once you can crank out 30 dips in a row, you’ll be ready to level up to the next section.
5.) 30-40 Dips
So this is where things are going to start to get really difficult. Before it was all about building your foundation. Now it's all about pushing yourself to new levels and really increasing your strength and endurance. The routine for this section looks like this:
(45 second rest between, 90 second rest after set, 3 sets)
- 15-20 reps of weighted dips
- Max reps explosive dips
- Max reps dips
- Max reps dip negatives
- 90 second rest
Exercise 1: We’re starting off strong with weighted dips. Choose a weight that challenges you in the 15-20 rep range. As you progress and your reps increase, you have two options: either keep building endurance by increasing your reps with the same weight or up the weight to bring your rep range down and focus more on strength. Since our primary goal here is endurance, I recommend sticking with a slightly lighter weight and a higher rep range. However, if strength is your priority, increasing the weight and working in a lower rep range would be the better move. Once you crank out your 15-20 reps, it’s time for explosive dips.
Exercise 2: Now, we’re shifting gears into max-rep territory. Explosive dips are all about boosting your strength and force output, making them one of the tougher exercises in this routine. That’s why they’re placed second—while you're still relatively fresh but already warmed up. Give it everything you've got, pushing for as many reps as possible. Once you hit failure, move on to regular dips.
Exercise 3: Next, you’re going for max reps of regular dips. By now, you should be getting fatigued, but this is where you push past what you think you can do. The goal here is simple—go all out. Once you hit failure, transition into dip negatives.
Exercise 4: To finish strong, you’ll burn out with dip negatives. At this stage, your muscles should be close to exhaustion, and this movement will help you squeeze out every last bit of strength left in the tank. Push for max reps, then take a well-earned 90-second rest before repeating the circuit.
Since the routine is getting more intense, longer rest is necessary to maintain performance.
Stick with this routine until you can knock out 40 dips in a row. Once you hit that milestone, you’re ready for the next challenge.
6.) 40-50 Dips
Going from 40 to 50 dips is going to require you to really push yourself. This routine is almost the same as the last one, but with a couple tweaks. The routine looks like this:
(60 second rest between, 90 second rest after set, 3 sets)
- 30 reps of weighted dips
- Max reps explosive dip negatives
- Max reps dips
- Max reps dip negatives
- Max reps assisted dips
- 90 second rest
Just like before, we’re kicking things off with weighted dips—but this time, the goal is 30 reps.
Exercise 1: Choose a weight that challenges you within that range. It’s okay if you don’t hit failure exactly at 30 reps, but make sure you’re pushing yourself with a weight that makes every rep count. Once you complete your 30 reps, it’s time for explosive dip negatives.
Exercise 2: Next, we’re going all out with max reps of explosive dip negatives. After those 30 weighted reps, these are going to feel brutal—but that’s exactly why you’re getting more rest (60 seconds). Dig deep, push to your limit, and once you hit failure, move straight into regular dips.
Exercise 3: Now, we keep the momentum going with max reps of regular dips. At this stage, fatigue will try to slow you down, but don’t let it. This is where you push through and prove to yourself that you’ve got more in the tank. Once you grind out your max reps, it’s time for dip negatives.
Exercise 4: After regular dips, you’re going straight into max reps of dip negatives. Just like before, this is about pushing yourself closer and closer to failure to build both muscle and strength. Give it everything you’ve got, then move into the final challenge: assisted dips.
Exercise 5: This is where we step things up from the 30-40 rep range to the 40-50 range—by adding assisted dips at the end. Go for max reps, squeezing out every last bit of energy you have left. Once you hit failure, take a well-earned 90-second rest, then repeat the circuit as many times as possible, aiming for at least three sets. Stick with this routine until you can crank out 50 dips in a row.
6.) 50+ Dips
So far the most dips I've been able to achieve in a row is 51, so I'm not currently the most qualified person to teach you how to go past 50 reps. To get over 50 reps you will have to continue to push yourself to new limits and challenge yourself in new ways. Increase the reps and the weight and track it to see how you are progressing, and keep challenging yourself
If you enjoyed this post and want to watch the video version, head on over to my Youtube channel
